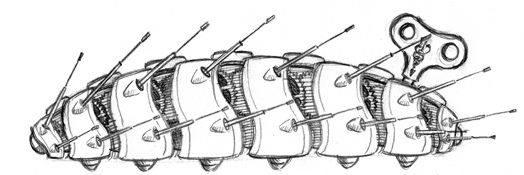
Worm Motion Test -
English / Korean
First, I tried to use HScript, but I found I cannot define a function in HScript, so I decided to use Python. Python in Houdini 9 is not fully integrated yet. There is not enough Help Documents and many functions are not implemented. However, it is still cool. The coolest thing to me is that I could use OOP (Object Oriented Programming). Object variables are very useful. I can put anything into a variable. For example, not only I can put a node into variable, but also I can put a parameter itself into an object variable.
myNode = hou.node(‘/obj/geo1’)
or
myParam = myNode.param(‘tx’)
To me, in Maya, there seem to be two languages which are Mel and Expression, but in Houdini, Python can be anything. Even I could create an object using Python Expression. Although in this project I haven’t used any fancy aspect of Python, I found there is lots of potential in Python.
The way I used Python as a expression is that I defined functions in Python Source Editor, and in a parameter I could just use those functions. For example,
In Python Source Editor
def add(a,b):
return a + b
and a parameter tap
add( ch(“./blar”) ,ch(“../blarblar”))
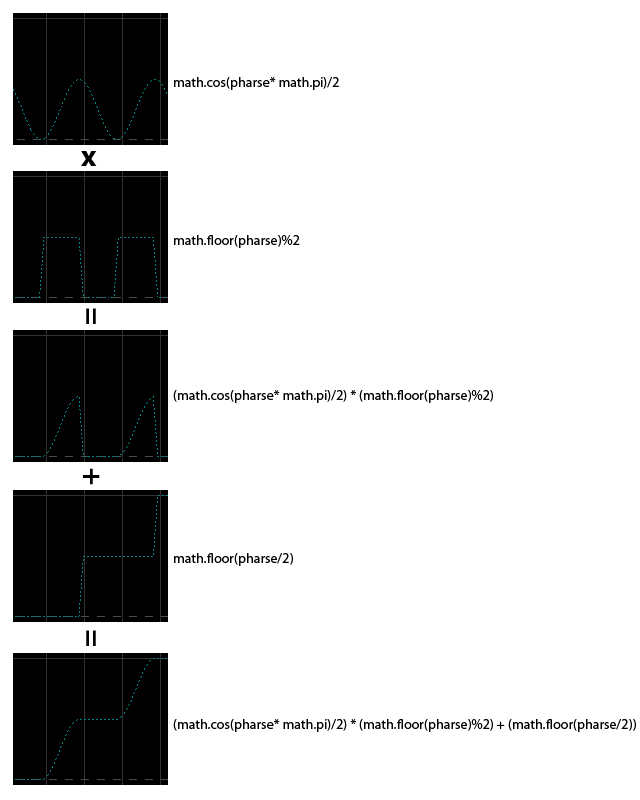
To make the worm motion, I used cos, floor and modular functions. Each body part has to have something like this motion for back and forth movement.
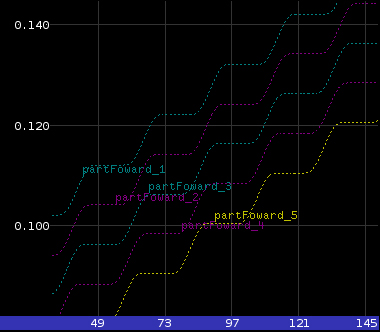
This picture shows how I made animation graph. My friend Yukinori helped me at this time.
The fully editable parameter tab in Houdini is also one of the cool features. I could control everything in the scene only using this parameter tab. I connected all body part parameters to this main parameter tab, so I didn’t need to go around finding and tweak expressions.

Because of Mantra 9 crash, I decided to use Renderman for batch rendering. As well as for some reason, I couldn’t render my objects with a custom Renderman shader in Renderman in Houdini, so I exported a scene as a sequence of rib files and used prman in Command Line. I’ll find out how to use a custom Renderman shader in Houdini 9 later.
I had to change some rib procedures in rib files to turn on Raytrace and assign a shader.
To turn Raytrace in rib level, you can add this line befor ‘World Begin’.
Attribute "visibility" "trace" [1]
To turn on Raytrace shadow,
Attribute "visibility" "int transmission" [1]
and for the light,
LightSource "shadowdistant" 1 "shadowname" ["raytrace"]
To add these lines to multiple rib files, I used a free software Replacem 2.0 which is fast and has every function for replacing a text.